It has been a little while since I posted something and I’ve been meaning to finish off this blog for a few weeks now, but I have been a little busy with the arrival of my 2nd son (and have been distracted by my new Alienware laptop!)… Anyway I recently blogged about how cool I thought the new feature was in SQL 2012 SP1 CU2 which allows you to natively backup/restore databases with Windows Azure Storage. Recently I have been able to set this up with some of the on-premise production databases that I look after and was impressed with how simple it was to setup in a relatively basic form.
Note: This blog is about backing up an on-premise SQL 2012 SP1 CU2 database to Azure. If you are looking to backup an Azure SQL database, then check out the very recent blogs by Jason Strate or Grant Fitchley
To begin you need to have a Windows Azure subscription. Once you have signed up for a subscription you configure everything you need to from the Azure portal.
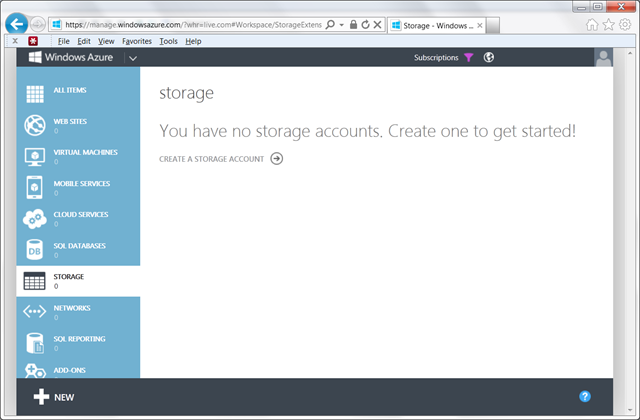
To perform the backups from SQL, you need to have a storage account setup. This storage is where the actual backups will reside. Click on Storage, then click on Create a Storage Account.
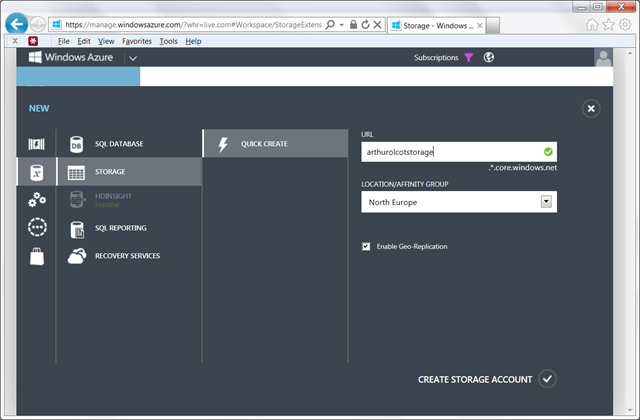
Create a URL and choose the location for the data and if you require geo-replicated data redundancy. Finally click Create Storage Account. Once it has been created which takes a few seconds, you’ll be able to create a container to store those backups
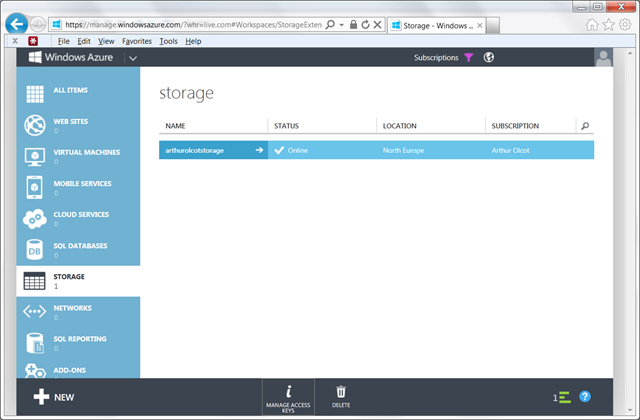
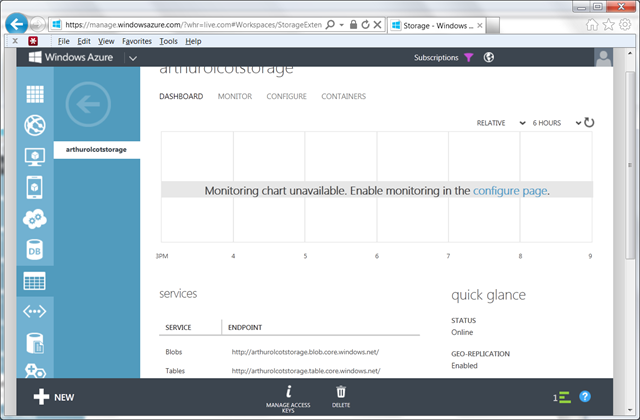
Click on the storage account that you have just created and that will take you to the dashboard. From here you can access some important information that you’ll need later. This is the “secret” access key which you can get by clicking on the Manage Access Keys button. But first we need to create a container to store the files in.
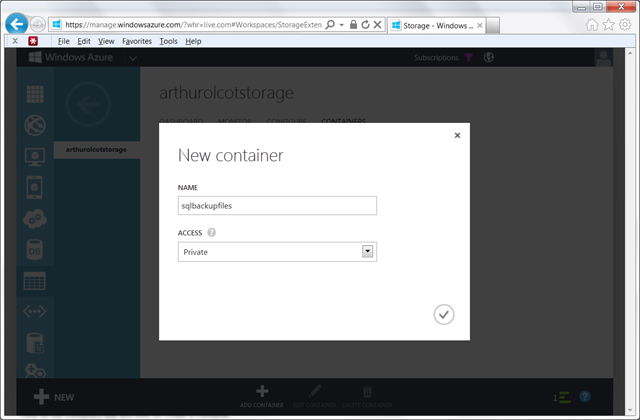
Click on the Containers link and then on Create a Container. Enter a name for the container to store the blobs and then ok.
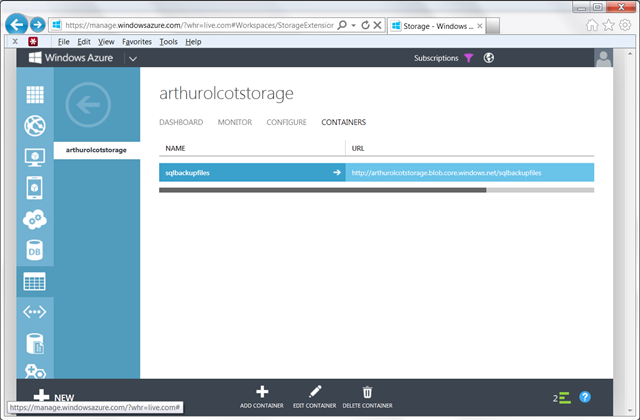
Once the container is created, it will appear along with the URL of the container. You’ll need this URL as part of the backup later on.
And that is pretty much it from within the Azure portal. Now we can get to work backing up our SQL server databases.
From our SQL server we need to first create a credential. This is what will be used to authenticate with Azure during the backup process. There are two key pieces of information that you’ll need to create the credential. The first is the “IDENTITY”. This is the name of your storage account that you created earlier. The second, “SECRET” is the access key which you can get from the portal as described earlier.
CREATE CREDENTIAL AzureArthurOlcotStorageCredential
WITH IDENTITY = 'arthurolcotstorage'
   , SECRET = '9Sv123123123123asdfbgtliZye12341234123412343/Kt2Zra8tu98vnj9412341234123YMfv/PasdfMKDpw5ySA==';
Once the credential has been created you can now perform a backup to Azure. There are some differences compared to traditional backups and some backup options are not supported so you should read up on the differences here. However, in its simplest form you can perform a full backup using something like this:
BACKUP DATABASE AdventureWorks
TO URL = 'https://arthurolcotstorage.blob.core.windows.net/sqlbackupfiles/AdventureWorks.bak'
WITH CREDENTIAL = 'AzureArthurOlcotStorageCredential'
   , COMPRESSION
   , STATS = 5
   , FORMAT
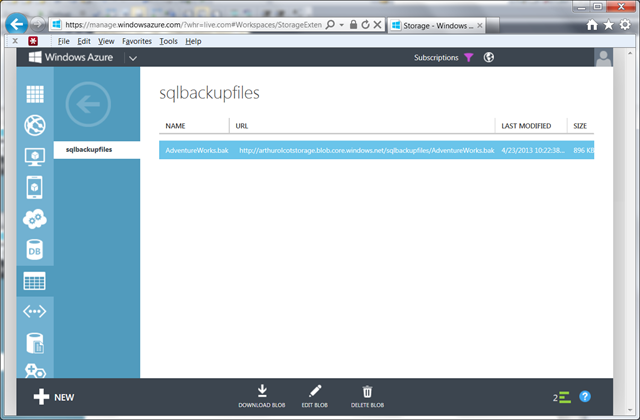
Here you can see the new destination type of URL which is the URL of your container that you created earlier plus the name of the file or rather blob that you want to create within that container. The other parameter that you need to specify is the credential which is needed to authenticate with Azure. Once the database backup is complete, you will be able to see it in the container
You can have basic backups all setup and working within a few minutes and it all seems to work fairly well. During testing I did have an issue with a backup failing, probably caused by a connection failure from the on-premise server and Azure and this left the lease to the blob locked with no easy way of killing it and i couldn’t delete the file either. I did get it resolved in the end, but it took me a few hours. I’ll blog a bit more about that error in a week or two and what I had to do to solve it.
Enjoy!